Add Multimedia to WordPress Posts Tutorial
How to add images to your WordPress posts
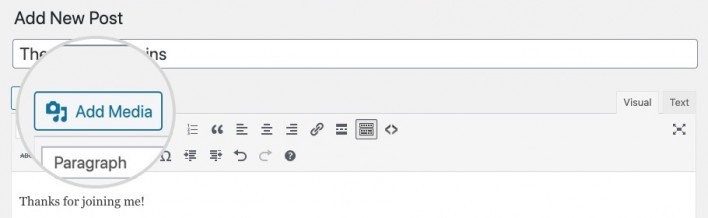
When editing a post in WordPress, adding images to your WordPress posts can be done from the Add Media button of the visual editor:
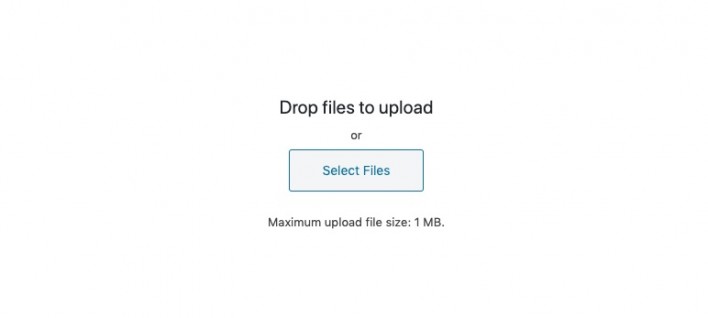
The WordPress Add Media pop-up will appear. Click on Select Files in the middle of the screen.
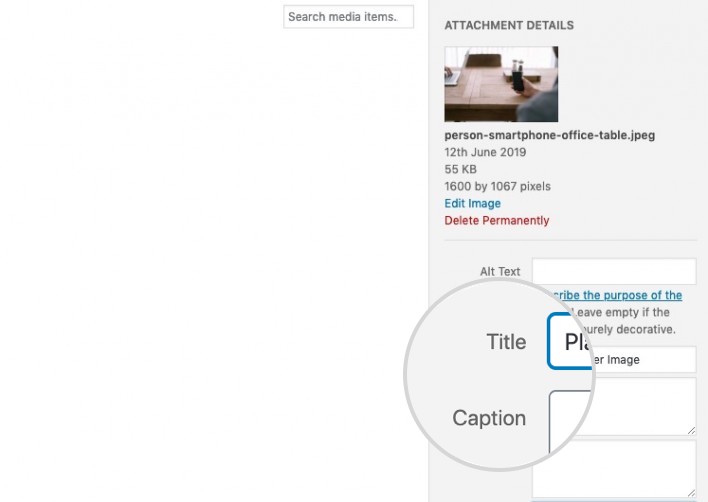
Navigate to the local file you want to use and WordPress will upload it and refresh the page depending on the file format. For the purpose of this tutorial, we will add an image to the post. For images, there are two things you should take care of. First, describe the image itself – enter its Alt text, a title for the link, and optionally a caption. The caption will appear under the actual image on your front end.
Once you do that, you need to specify the attachment settings of the image:
- Alignment – How to align the image in your content. It depends on your actual theme on how alignments will work on your site.
- Link To – Select where to link the image to – the full-size image file, the media page automatically created for each new attachment, custom URL or simply not to link it.
- Size – When you upload an image, WordPress creates multiple copies of it in different sizes. Choose whether you want a thumbnail, medium-sized image or the entire image added to your post.

After you enter the information for your photo and choose how to visualize it in your post, click on Insert into post. You will see the image added to your editor window.
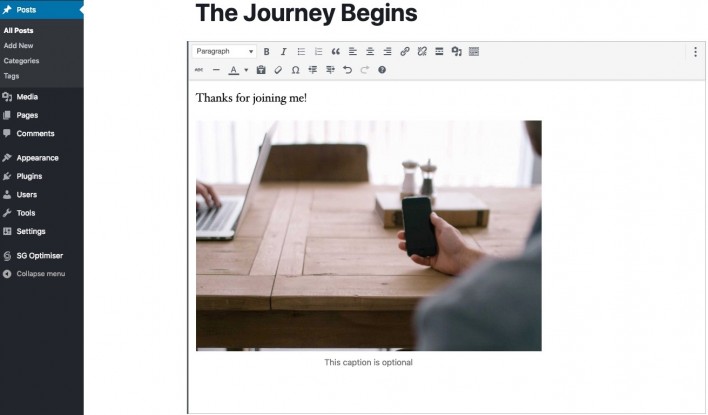
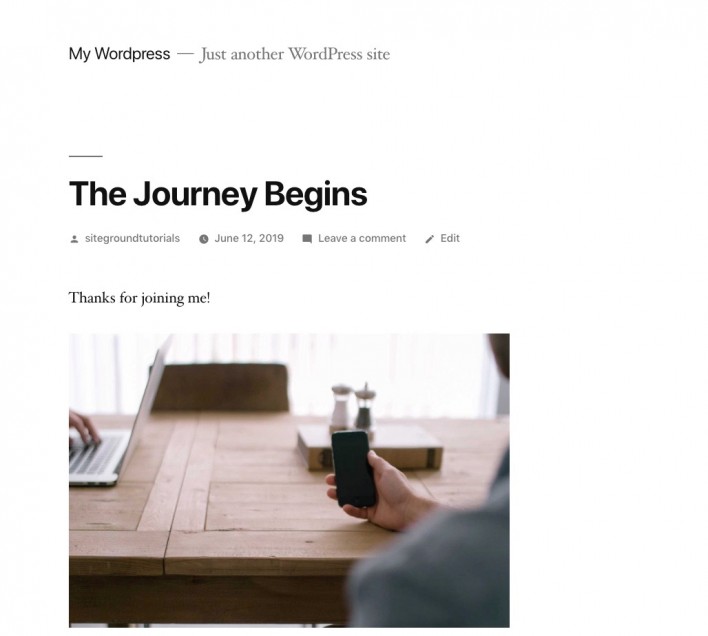
You can now update your post and go to the front end of your site. You will see the newly added image added to your post.
How to embed videos in your posts
To add a video to your WordPress post, first, find the video you want to embed and copy its URL. Then, go to your WordPress post and paste the copied URL directly in the visual editor. WordPress will automatically embed the video into your post.