How to Customize WordPress Themes
Depending on the theme you’re using for your WordPress site there are a different set of changes you can make to your site from within your admin panel. This tutorial explains how to do some of the changes to your site using the Customization page. For the purpose of this tutorial, we will use the Twenty Nineteen theme.
How to Access the WordPress Customization Page
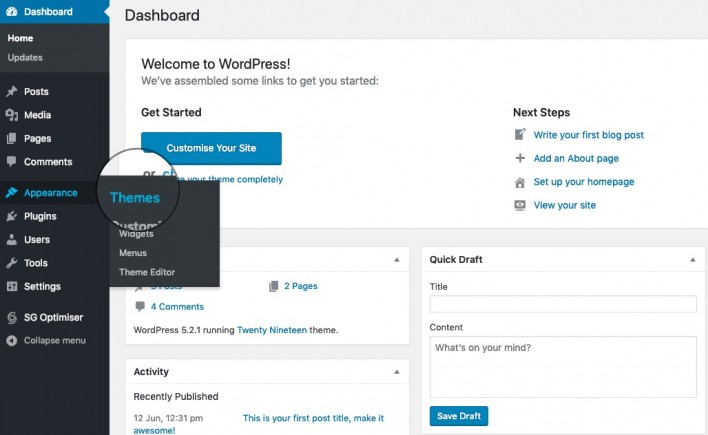
To start customizing your WordPress theme, go to Appearance > Themes.
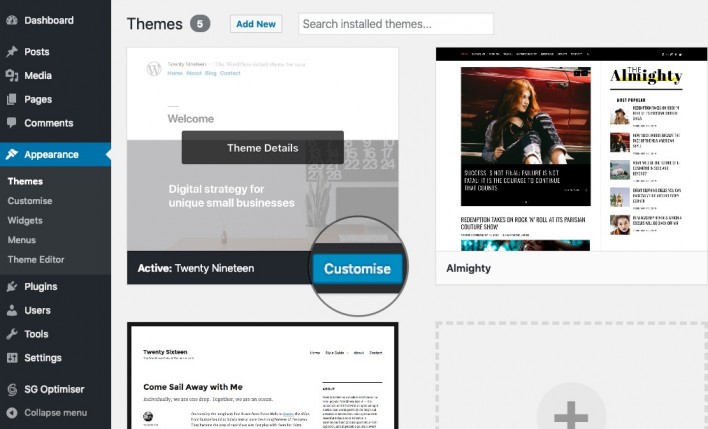
On this page, locate the active theme (Twenty Nineteen in our case) and click on Customize next to its title.
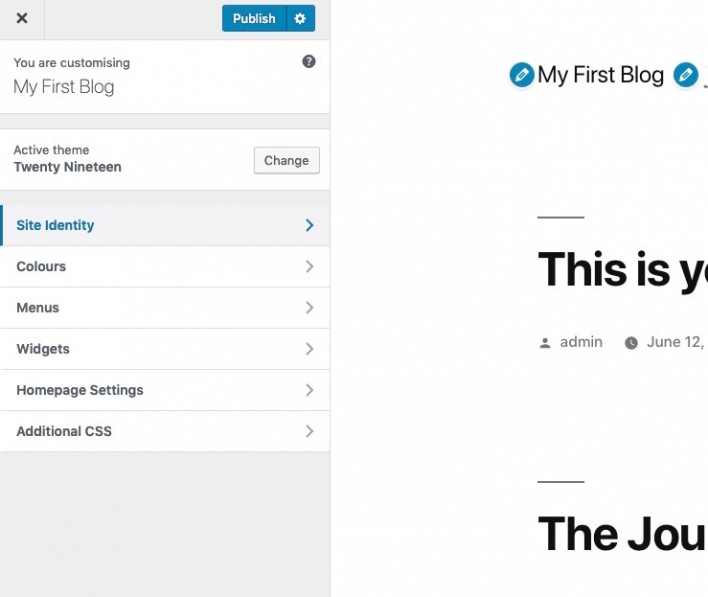
On the page that opens, you can modify your WordPress theme in real time. On the left you will see a list of the available options and on the right a live preview of your site and how those changes will affect it.
How to Modify your WordPress Title and Tagline
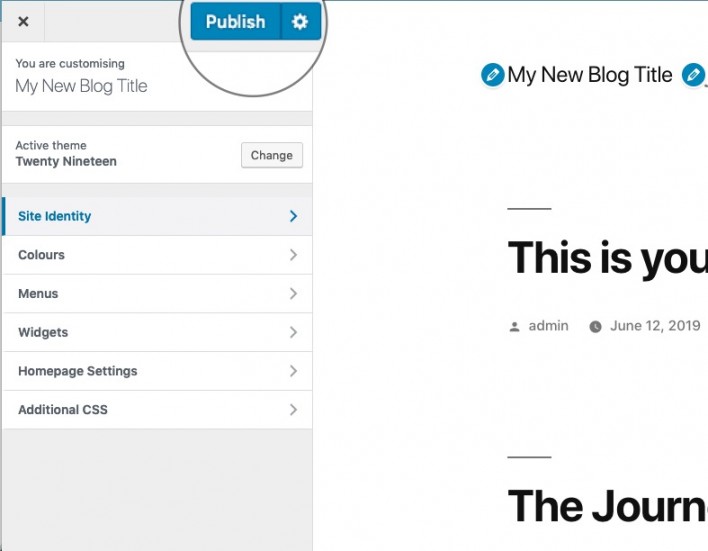
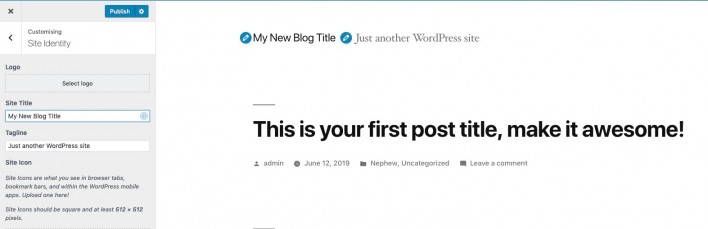
The theme customization page allows you to modify your site’s title and tagline and see how it will look on your actual site immediately. To do this, expand the Site Identity group of settings and alter the text. As you type you will see the new text showing up in the preview on the right side. Once you’re happy with the result, click on Publish.
Additional WordPress Theme Customizations
Depending on the theme you’re using there might be additional options in that page. For example, the Twenty Nineteen theme allows you to modify the header image, color scheme, add additional CSS and more. Once you’re happy with the result, click on Publish to save the changes.