How to Configure VaultPress to Make Backups via SSH Tutorial
VaultPress is a WordPress plugin, which provides real-time backup and security scanning service designed and built by Automattic. VaultPress offers two backups options: real-time backups and daily backups. By default, backups are configured to work through HTTP/HTTPS if no additional configuration is performed from VaultPress Dashboard, which might cause CPU Time Usage or Account Executions limits on our shared servers to be approached or hit when it comes to big sites with a lot of files or big databases.
Configuring VaultPress to work over SSH is not only the most robust and secure method but it also allows you to reduce the CPU consumption and executions.
Configure VaultPress to Work via SSH
Log in to your VaultPress Dashboard, select your site and click on Settings. Select SSH, which is one of the recommended settings.
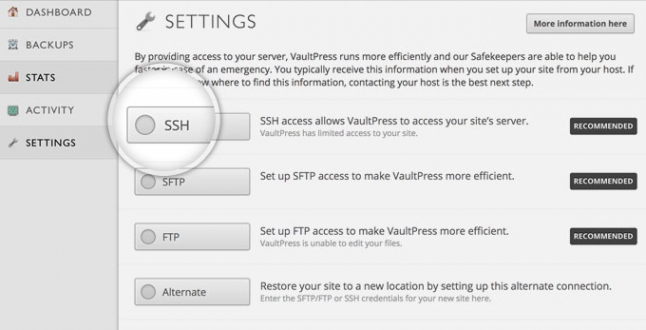
Selecting SSH will expand the VaultPress SSH configuration settings:
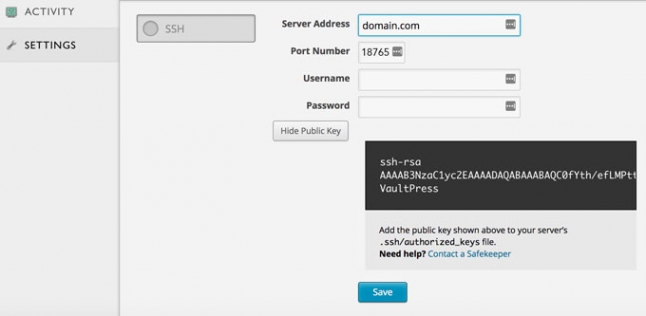
Populate the following settings into the form:
- Server Address: your domain name or Server Hostname
- Port Number: 18765 (SSH port number used at SiteGround)
- Username: your SSH username (available in Site Tools > Devs > SSH Key Manager, by going to the kebab menu > SSH Credentials)
- Password: leave blank (when using SSH key auth for connecting password is not needed)
Go to your Site Tools > Devs > SSH Key Manager > Import and paste the VaultPress public key in the Public Key section as shown below:
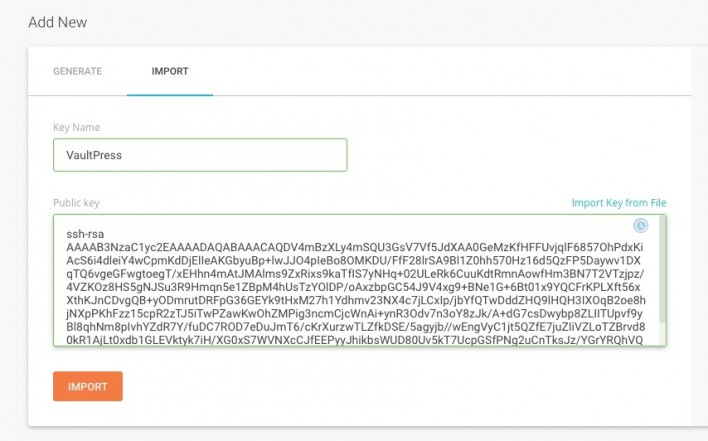
Clicking on Upload will add the public key to your server’s .ssh/authorized_keys file as requested by VaultPress.
Clicking on Save at VaultPress Dashboard will be enough to complete the SSH setup:
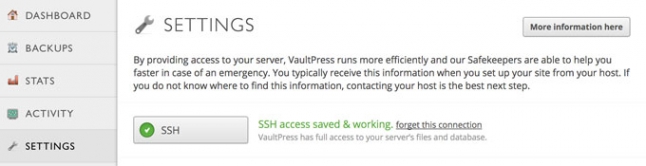
This is all – now your VaultPress is configured to use SSH for it’s backup and security scanning services.