WordPress Automatic Migrator
In this tutorial, we will show you how to use the SiteGround Migrator plugin to move a WordPress site from any other hosting company to your SiteGround account. The process is very straightforward and easy to follow.
Automatic WordPress migration steps covered in this tutorial:
Step 1: Generate a migration token in SiteGround Site Tools
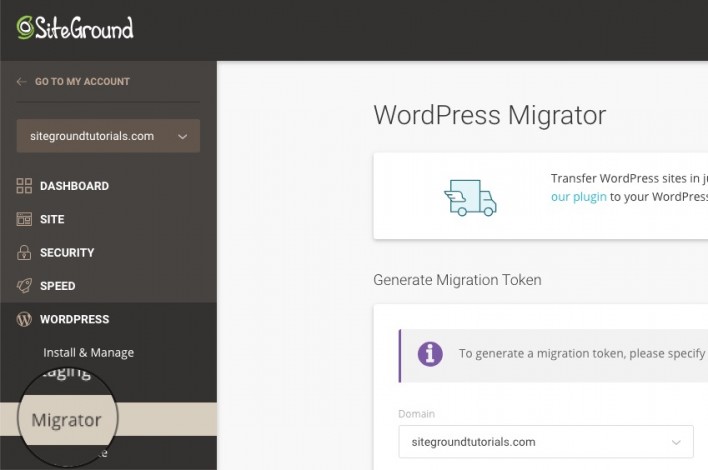
First, you need to generate a Migration Token that will tell our system to which account and folder you want to transfer your site. To start, go to your Site Tools > WordPress > Migrator.
Select the domain you want to use from the drop-down menu and add a path if needed (if your WordPress site is installed on yourdomain.com/blog for example). Click on Generate.
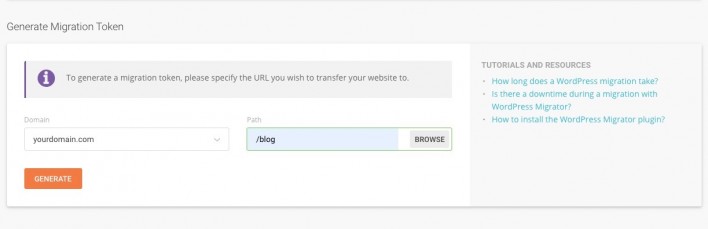
You will receive a long string of symbols – the Migration Token. It’s unique per each transfer and has all the information our system needs to start moving your files and databases. Click on Copy to save it for the next step.

Step 2: Install SiteGround migrator plugin to your WordPress
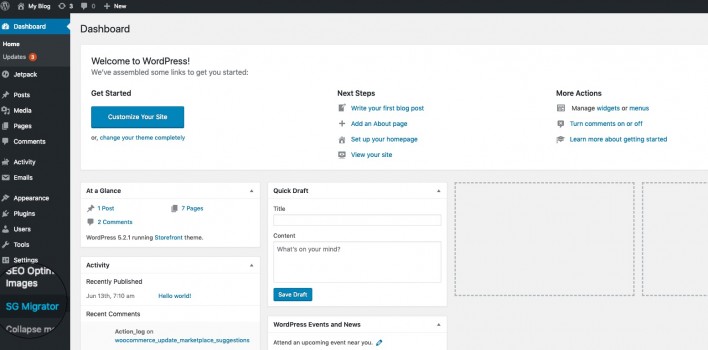
Once you have the Migration Token, log in to the WordPress installation you want to move to SiteGround. Install and activate the free SiteGround Migrator plugin from the official WordPress plugin repository.

Step 3: Paste the migration token in the plugin to start the migration
Once you have the plugins installed, select the SiteGround Migrator menu on your left column.
Now, paste the Migration Token you’ve generated in the first step and press Initiate Transfer.
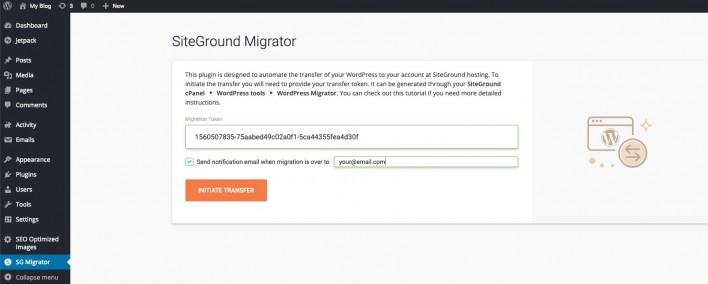
That’s it! Our system will create a copy of your account, move it to our servers and install it for you. You can follow the progress in the plugin interface:
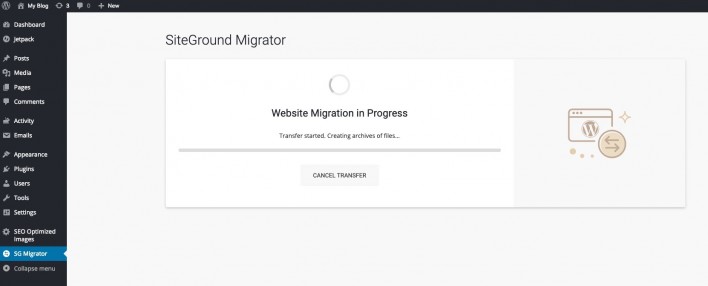
Note that even if you close your browser the migration will continue as normal and you can visit that page later to check the results.
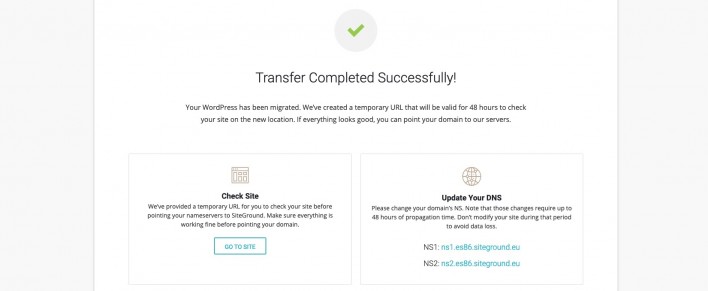
Step 4: Check your website and update NS records to finish the migration
Once the transfer is finished, you will receive instructions on how to complete it both on the confirmation screen and via email. We create a temporary URL for each transferred site that can be used for 48 hours to check how the site looks and functions in the new location. If everything looks OK on the temporary link, you need to switch your domain DNS settings to point to your SiteGround website. The new DNS settings will be displayed in the plugin and in the email we’ll send you. You can also get the DNS settings at any time from your SiteGround Client Area.
Of course, if you are transferring your site to a domain that is already pointing to SiteGround, you do not need to make changes to the DNS settings after the transfer.