WordPress Search & Replace Tutorial
There are cases in which you may need to replace all occurrences of certain strings in your WordPress site. In example, when you have just installed an SSL and you want your WordPress to use https instead of http; or when you simply want to change your domain name.
You can do this easily with the WordPress Search and Replace tool located in your Site Tools. Here’s how to use it:
Make a backup of your WordPress website’s database first
Making bulk changes to your website’s database has its risks, so it is important to make a backup before making the change. In case you make an error when providing the search and replace parameters or you’re not happy with the result, you can easily revert to a previously created backup. You can find out how to backup your WordPress site here.
How to use the WordPress Search & Replace Tool
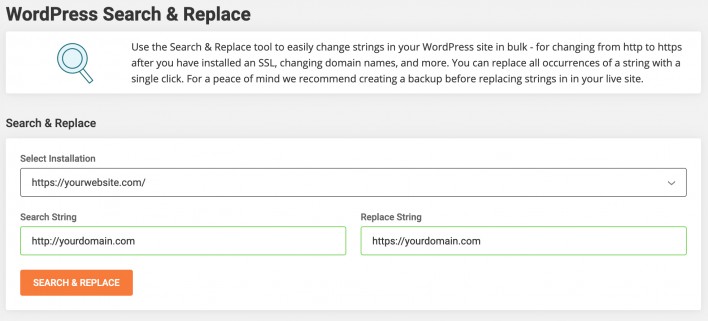
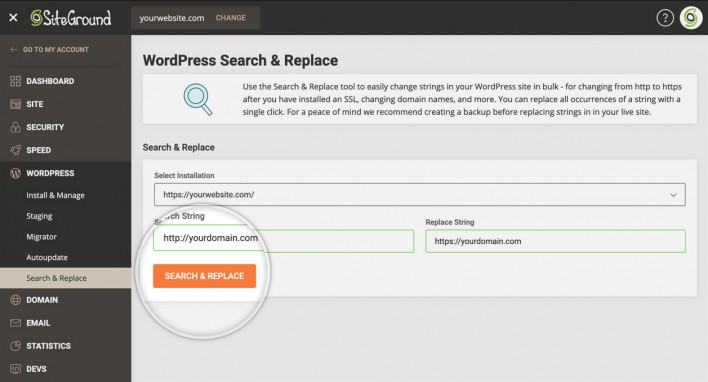
The tool is located in your Site Tools -> WordPress -> Search & Replace. Select the desired WordPress application from the Select Installation drop down. Then input the old string you want to replace in the Search string field and the one you want to replace it with in the Replace string one. For example if you have switched to using HTTPS and want to change all references for your domain with http:// you can do so like this:
Once you have reviewed that the strings you typed are correct, click the Search & Replace button to initiate the operation.
The tool will change all occurrences of the Search string to the string from the Replace string field in all tables of your WordPress website’s database. When the operation is completed you will see a confirmation notice in the upper right corner.
After the task is completed, review your website and if you notice any problems, restore your website’s database from the backup you created before performing the Search & Replace operation or from another recent backup in your Backups tool.